はじめに
以前の記事
Chefを用いたLAMP開発環境の構築方法~仮想環境構築編および、Chefを用いたLAMP開発環境の構築方法~LAMP環境構築編では、仮想環境の構築から、Chefを用いたLAMP環境構築方法について、2回に渡って解説しました。
今回は、サーバー構成管理ツールであるPuppetを用いたLAMP環境の構築方法について、2回に分けて解説します。
第1回は、Puppet環境の構築から仮想マシンの基本設定を行うレシピの実行までを解説します。
Puppet環境の構築
Vagrantを使用したBoxに対して、Puppetによるプロビジョニングを実行するためには、Vagrantで起動したBoxにPuppetがインストールされている必要があります。このため、Box起動時にrubyおよび、Puppetのインストールを行う必要があります。
このため、Vagrantのshellプロビジョニングを使用して、Puppet環境を構築します。
1.Boxの初期化
前回の記事と同じように、Boxの初期化を行います。
$ mkdir -p ~/vagrant/puppet-lamp && cd ~/vagrant/puppet-lamp
$ vagrant init
$ vi Vagrantfile
$ mkdir -p ~/vagrant/puppet-lamp && cd ~/vagrant/puppet-lamp

punio@PAPA ~/vagrant/puppet-lamp
$ vagrant init
A `Vagrantfile` has been placed in this directory. You are now
ready to `vagrant up` your first virtual environment! Please read
the comments in the Vagrantfile as well as documentation on
`vagrantup.com` for more information on using Vagrant.
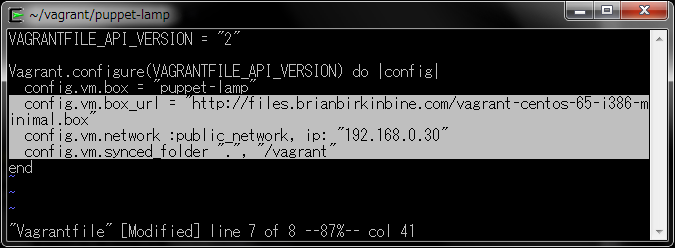
  config.vm.box_url = "http://files.brianbirkinbine.com/vagrant-centos-65-i386-minimal.box"
  config.vm.network :public_network, ip: "192.168.0.30"
  config.vm.synced_folder ".", "/vagrant"
2.リポジトリのインストール
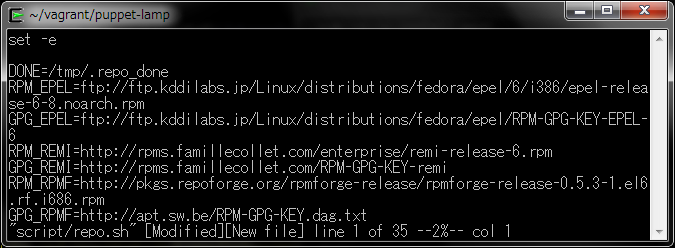
scriptフォルダを作成し、サードパーティリポジトリインストールスクリプトを作成します。
$ mkdir script
$ vi script/repo.sh
set -e

DONE=/tmp/.repo_done
RPM_EPEL=ftp://ftp.kddilabs.jp/Linux/distributions/fedora/epel/6/i386/epel-release-6-8.noarch.rpm
GPG_EPEL=ftp://ftp.kddilabs.jp/Linux/distributions/fedora/epel/RPM-GPG-KEY-EPEL-6
RPM_REMI=http://rpms.famillecollet.com/enterprise/remi-release-6.rpm
GPG_REMI=http://rpms.famillecollet.com/RPM-GPG-KEY-remi
RPM_RPMF=http://pkgs.repoforge.org/rpmforge-release/rpmforge-release-0.5.3-1.el6.rf.i686.rpm
GPG_RPMF=http://apt.sw.be/RPM-GPG-KEY.dag.txt

if [ ! -f ${DONE} ]; then
  echo "include_only=.jp" | tee -a /etc/yum/pluginconf.d/fastestmirror.conf
  yum -q -y install wget

  for gpg in ${GPG_EPEL} ${GPG_REMI} ${GPG_RPMF}
  do
    rpm --import $gpg
  done

  cd /tmp
  wget -q ${RPM_EPEL}
  wget -q ${RPM_REMI}
  wget -q ${RPM_RPMF}
  for rpm in *.rpm
  do
    rpm -Uvh $rpm
  done

  for repo in remi.repo epel.repo rpmforge.repo
  do
    cp -p /etc/yum.repos.d/$repo /etc/yum.repos.d/$repo.old
    cat /etc/yum.repos.d/$repo.old| sed 's/^enabled.*$/enabled = 0/' < /etc/yum.repos.d/$repo
  done
  touch ${DONE}
fi
3.開発者パッケージのインストール
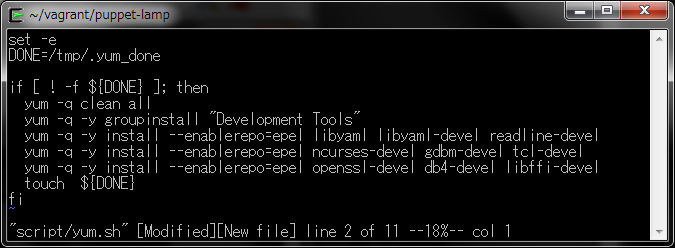
rubyのビルドに必要な開発者用パッケージを、インストールするスクリプトを作成します。
$ vi script/yum.sh
set -e
DONE=/tmp/.yum_done

if [ ! -f ${DONE} ]; then
  yum -q clean all
  yum -q -y groupinstall "Development Tools"
  yum -q -y install --enablerepo=epel libyaml libyaml-devel readline-devel
  yum -q -y install --enablerepo=epel ncurses-devel gdbm-devel tcl-devel
  yum -q -y install --enablerepo=epel openssl-devel db4-devel libffi-devel
  touch  ${DONE}
fi
4.rubyのインストール
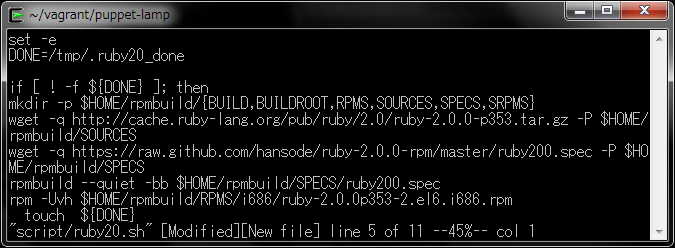
rubyのビルドを行うスクリプトを作成します。
$ vi script/ruby20.sh
set -e
DONE=/tmp/.ruby20_done

if [ ! -f ${DONE} ]; then
mkdir -p $HOME/rpmbuild/{BUILD,BUILDROOT,RPMS,SOURCES,SPECS,SRPMS}
wget -q http://cache.ruby-lang.org/pub/ruby/2.0/ruby-2.0.0-p353.tar.gz -P $HOME/rpmbuild/SOURCES
wget -q https://raw.github.com/hansode/ruby-2.0.0-rpm/master/ruby200.spec -P $HOME/rpmbuild/SPECS
rpmbuild --quiet -bb $HOME/rpmbuild/SPECS/ruby200.spec
rpm -Uvh $HOME/rpmbuild/RPMS/i686/ruby-2.0.0p353-2.el6.i686.rpm
  touch  ${DONE}
fi
5.Puppetのインストール
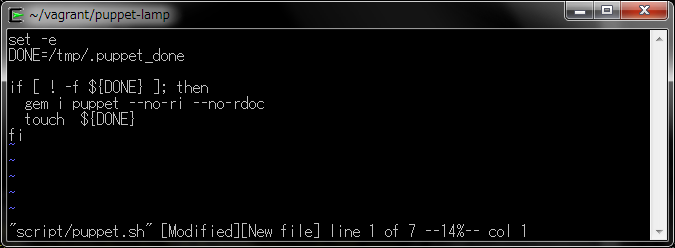
gemパッケージから、Puppetをインストールするスクリプトを作成します。
$ vi script/puppet.sh
set -e
DONE=/tmp/.puppet_done

if [ ! -f ${DONE} ]; then
  gem i puppet --no-ri --no-rdoc
  touch  ${DONE}
fi
6.シェルプロビジョニングの指定
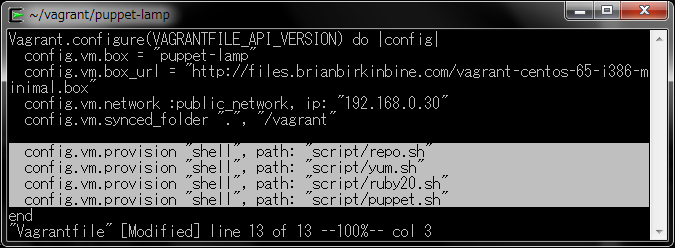
作成したシェルスクリプトを、Vagrantfileに指定します。
config.vm.provision "shell", path: "script/repo.sh"
config.vm.provision "shell", path: "script/yum.sh"
config.vm.provision "shell", path: "script/ruby20.sh"
config.vm.provision "shell", path: "script/puppet.sh"
7.シェルプロビジョニングの実行
Boxを起動すると、指定されたシェルスクリプトが実行され、rubyおよび、puppetがインストールされます。
$ vagrant up
$ vagrant up
Bringing machine 'default' up with 'virtualbox' provider...
[default] Box 'puppet-lamp' was not found. Fetching box from specified URL for
the provider 'virtualbox'. Note that if the URL does not have
a box for this provider, you should interrupt Vagrant now and add
the box yourself. Otherwise Vagrant will attempt to download the
full box prior to discovering this error.
Downloading box from URL: http://files.brianbirkinbine.com/vagrant-centos-65-i386-minimal.box
Extracting box...ate: 3666k/s, Estimated time remaining: --:--:--)
Successfully added box 'puppet-lamp' with provider 'virtualbox'!
[default] Importing base box 'puppet-lamp'...
Preparing...                ##################################################
ruby                        ##################################################
[default] Running provisioner: shell...
[default] Running: D:/TEMP/vagrant-shell20140123-5944-5o8pt
Successfully installed facter-1.7.4
Successfully installed json_pure-1.8.1
Successfully installed hiera-1.3.0
Successfully installed rgen-0.6.6
Successfully installed puppet-3.4.2
5 gems installed
8.インストール確認
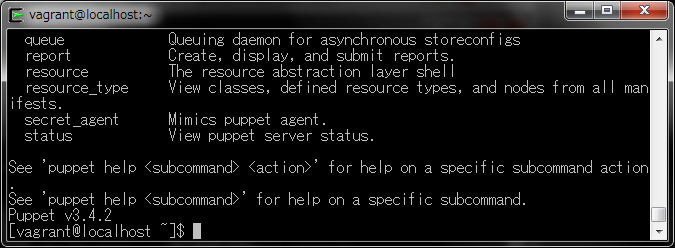
Boxに接続し、rubyおよび、puppetがインストールされているか確認します。
$ vagrant ssh
$ ruby -v
$ pappet help
$ vagrant ssh
[vagrant@localhost ~]$ ruby -v
ruby 2.0.0p353 (2013-11-22 revision 43784) [i686-linux]
[vagrant@localhost ~]$ puppet help
Usage: puppet  [options]  [options]

Available subcommands:

  agent             The puppet agent daemon
  apply             Apply Puppet manifests locally
  ca                Local Puppet Certificate Authority management.
  catalog           Compile, save, view, and convert catalogs.
  queue             Queuing daemon for asynchronous storeconfigs
  report            Create, display, and submit reports.
  resource          The resource abstraction layer shell
  resource_type     View classes, defined resource types, and nodes from all manifests.
  secret_agent      Mimics puppet agent.
  status            View puppet server status.

See 'puppet help  ' for help on a specific subcommand action.
See 'puppet help ' for help on a specific subcommand.
Puppet v3.4.2
[vagrant@localhost ~]$
9.Box停止
インストールが確認できたらログアウトした後、Boxを停止します。
$ vagrant halt
$ vagrant halt
[default] Attempting graceful shutdown of VM...
DL is deprecated, please use Fiddle
仮想マシンの初期設定
Puppetを用いたプロビジョニング環境が準備できましたので、仮想マシンの初期設定を行います。
Puppetでは、manifest(マニフェスト)を実行することで、Boxのプロビジョニングを行います。manifestは、Chefのrecipe(レシピ)と同じようなものと考えると理解しやすいでしょう。
manifestsフォルダを作成し、初期設定を行うマニフェストを作成します。
なお、ファイル拡張子ppは、Puppet Provisioningの頭文字を取ったものです。
1.ネットワーク設定
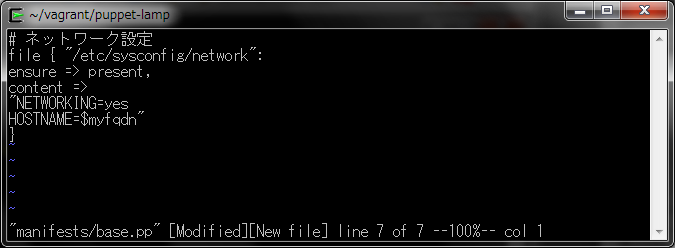
ネットワーク設定ファイルを作成します。
$ mkdir manifests
$ vi manifests/base.pp
# ネットワーク設定
file { "/etc/sysconfig/network":
ensure => present,
content =>
"NETWORKING=yes
HOSTNAME=$myfqdn"
}
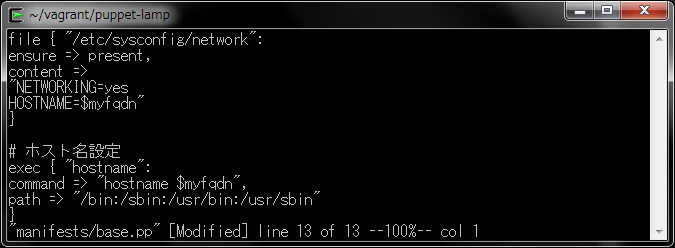
2.ホスト名設定
ホスト名を設定します。
# ホスト名設定
exec { "hostname":
command => "hostname $myfqdn",
path => "/bin:/sbin:/usr/bin:/usr/sbin"
}
3.hosts設定
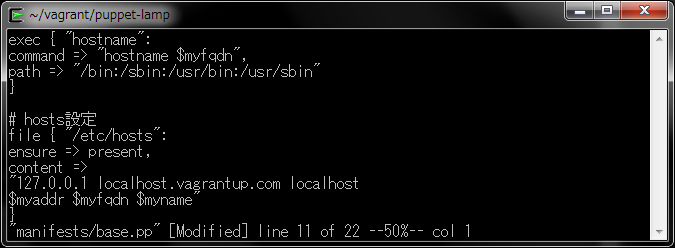
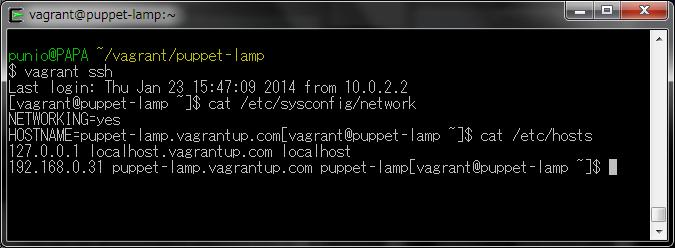
Vagrantfileで指定されたホスト名とIPアドレスを元に、/etc/hostsファイルを作成します。
# hosts設定
file { "/etc/hosts":
ensure => present,
content =>
"127.0.0.1 localhost.vagrantup.com localhost
$myaddr $myfqdn $myname"
}
4.Firewall無効化
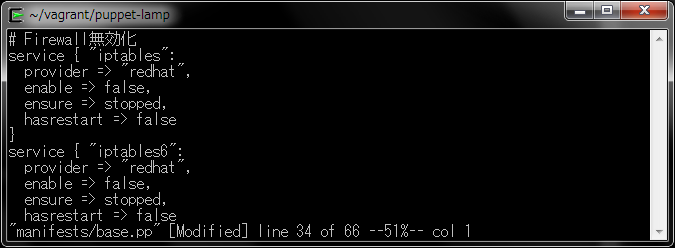
F/Wを無効化します。
# Firewall無効化
service { "iptables":
  provider => "redhat",
  enable => false,
  ensure => stopped,
  hasrestart => false
}
service { "iptables6":
  provider => "redhat",
  enable => false,
  ensure => stopped,
  hasrestart => false
}
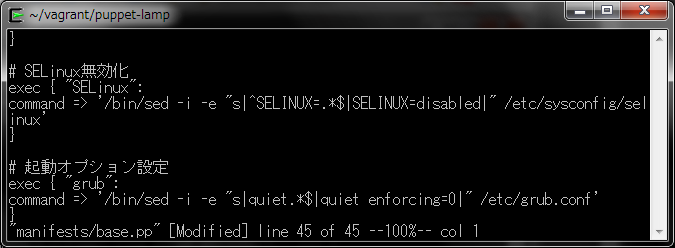
5.SELinux無効化
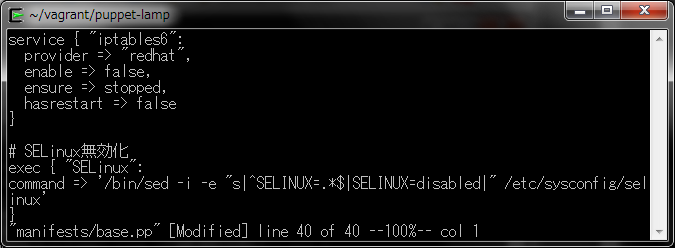
SELinuxのポリシーを無効化します。
# SELinux無効化
exec { "SELinux":
command => '/bin/sed -i -e "s|^SELINUX=.*$|SELINUX=disabled|" /etc/sysconfig/selinux'
}
6.起動オプション設定
SELinuxの無効化に伴う、起動オプションの再設定を行います。
# 起動オプション設定
exec { "grub":
command => '/bin/sed -i -e "s|quiet.*$|quiet enforcing=0|" /etc/grub.conf'
}
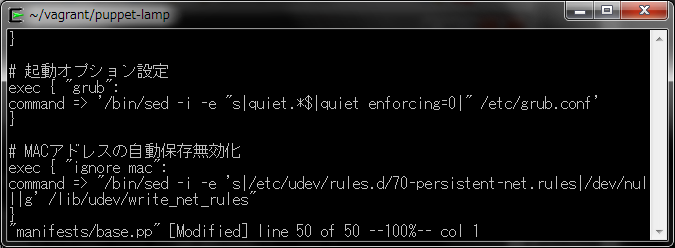
7.MACアドレスの自動保存無効化
MACアドレスの保存ファイル名を/dev/nullに設定し、MACアドレスの自動保存を無効化します。
exec { "ignore mac":
command => "/bin/sed -i -e 's|/etc/udev/rules.d/70-persistent-net.rules|/dev/null|g' /lib/udev/write_net_rules"
}
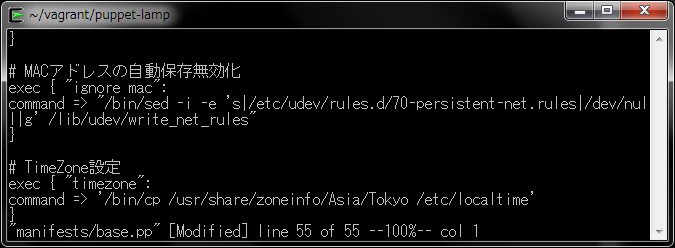
8.TimeZone設定
Boxのタイムゾーンを、GMTからJSTに変更します。
exec { "timezone":
command => '/bin/cp /usr/share/zoneinfo/Asia/Tokyo /etc/localtime'
}
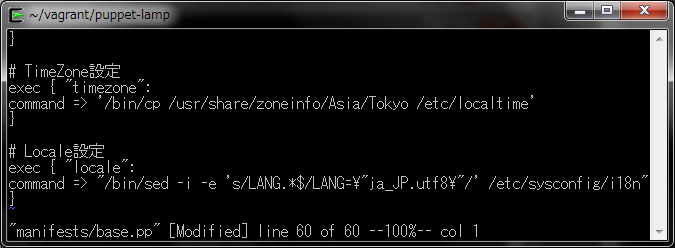
9.Locale設定
システムロケールを、ja_JP.utf8に変更します。
# Locale設定
exec { "locale":
command => "/bin/sed -i -e 's/LANG.*$/LANG="ja_JP.utf8"/' /etc/sysconfig/i18n"
}
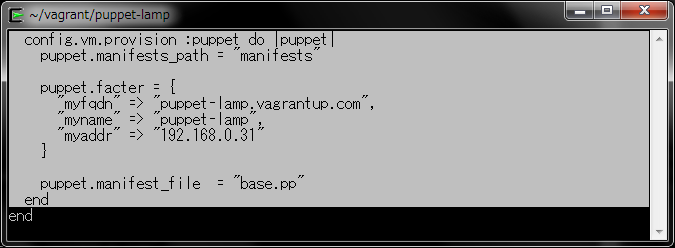
10.マニフェストの指定
作成したマニフェストをVagrantfileに指定し、マニフェストの検索パスおよび、マニフェスト内で使用する変数を定義します。
$ vi Vagrantfile
config.vm.provision :puppet do |puppet|
  puppet.manifests_path = "manifests"

  puppet.facter = {
    "myfqdn" => "puppet-lamp.vagrantup.com",
    "myname" => "puppet-lamp",
    "myaddr" => "192.168.0.31"
  }

  puppet.manifest_file  = "base.pp"
end
11.マニフェストの実行
マニフェストを実行します。
$ vagrant up --provision
 vagrant up --provision
Bringing machine 'default' up with 'virtualbox' provider...
[default] Clearing any previously set forwarded ports...
[default] Clearing any previously set network interfaces...
[default] Preparing network interfaces based on configuration...
[default] Forwarding ports...
[default] -- 22 => 2222 (adapter 1)
[default] Booting VM...
[default] Waiting for machine to boot. This may take a few minutes...
DL is deprecated, please use Fiddle
[default] Machine booted and ready!
[default] Configuring and enabling network interfaces...
[default] Mounting shared folders...
[default] -- /vagrant
[default] -- /tmp/vagrant-puppet-1/manifests
[default] Running provisioner: shell...
[default] Running: D:/TEMP/vagrant-shell20140123-3260-yp0znh
[default] Running provisioner: shell...
[default] Running: D:/TEMP/vagrant-shell20140123-3260-pmruhl
[default] Running provisioner: shell...
[default] Running: D:/TEMP/vagrant-shell20140123-3260-13ro05b
[default] Running provisioner: shell...
[default] Running: D:/TEMP/vagrant-shell20140123-3260-8jghhk
[default] Running provisioner: puppet...
Running Puppet with base.pp...
Notice: Compiled catalog for localhost.flets-east.jp in environment production in 0.52 seconds
Notice: /Stage[main]/Main/Exec[timezone]/returns: executed successfully
Notice: /Stage[main]/Main/Exec[ignore mac]/returns: executed successfully
Notice: /Stage[main]/Main/Exec[SELinux]/returns: executed successfully
Notice: /Stage[main]/Main/Exec[grub]/returns: executed successfully
Notice: /Stage[main]/Main/Exec[hostname]/returns: executed successfully
Notice: /Stage[main]/Main/File[/etc/hosts]/content: content changed '{md5}54fb6627dbaa37721048e4549db3224d' to '{md5}3cb97600ab1a5f1504e9e815540713b5'
Notice: /Stage[main]/Main/File[/etc/sysconfig/network]/content: content changed '{md5}42ef963609ead6add279e08d5dd0bbbd' to '{md5}2ab870e9dcd60c791e4f1bc402ba945e'
Notice: /Stage[main]/Main/Exec[locale]/returns: executed successfully
Notice: Finished catalog run in 0.77 seconds
12.動作確認
Boxに接続し、ホスト名やhostsファイルなどの各設定ファイルが、マニフェストどおりに変更されているか確認します。
$ vagrant ssh
まとめ
ここまで、Puppet環境の構築から仮想マシンの基本設定を行うマニフェストの実行までを解説しました。
第2回は、LAMP環境を構築するマニフェストを作成し、プロビジョニングを行う方法を解説します。
本ブログは、Git / Subversion のクラウド型ホスティングサービス「tracpath(トラックパス)」を提供している株式会社オープングルーヴが運営しています。
開発の効率化をしたい!もっと便利なツールを使いたい!そんなお悩みをtracpathで解決!
「tracpath(トラックパス)」は、企業内の情報システム部門や、ソフトウェア開発・アプリケーション開発チームに対して、開発の効率化を支援し、品質向上を実現します。
さらに、システム運用の効率化・自動化支援サービスも提供しています。
”つくる情熱を支えるサービス”を提供し、まるで専属のインフラエンジニアのように、あなたのチームを支えていきます。






No Comments